
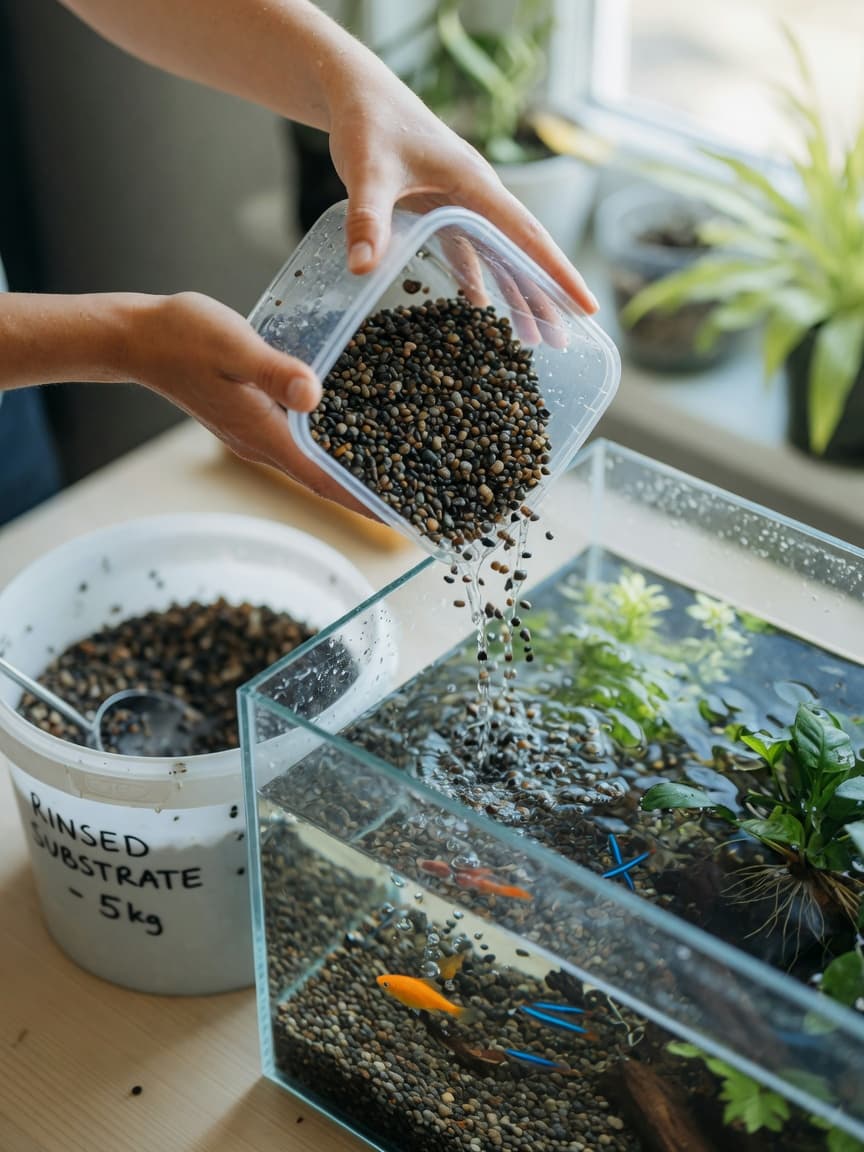
Whether you're dealing with accumulated debris, algae buildup, or simply want to refresh your aquarium's appearance, replacing substrate is one of the most important maintenance tasks for aquatic pet owners. A clean substrate not only enhances your aquarium's visual appeal but also maintains water quality and supports the health of your fish, plants, and beneficial bacteria. In this comprehensive guide, I'll walk you through the process step-by-step, ensuring you do it correctly without disrupting your aquatic ecosystem.
Why Substrate Replacement Matters
Aquarium substrate—the material covering the tank bottom—serves multiple vital functions. It provides surface area for beneficial bacteria to colonise, anchors aquatic plants, and helps trap waste particles. Over time, substrate accumulates decaying organic matter, uneaten food, and fish waste that can compromise water quality. Regular maintenance extends the life of your substrate and keeps your aquatic pets thriving.
What You'll Need to Get Started
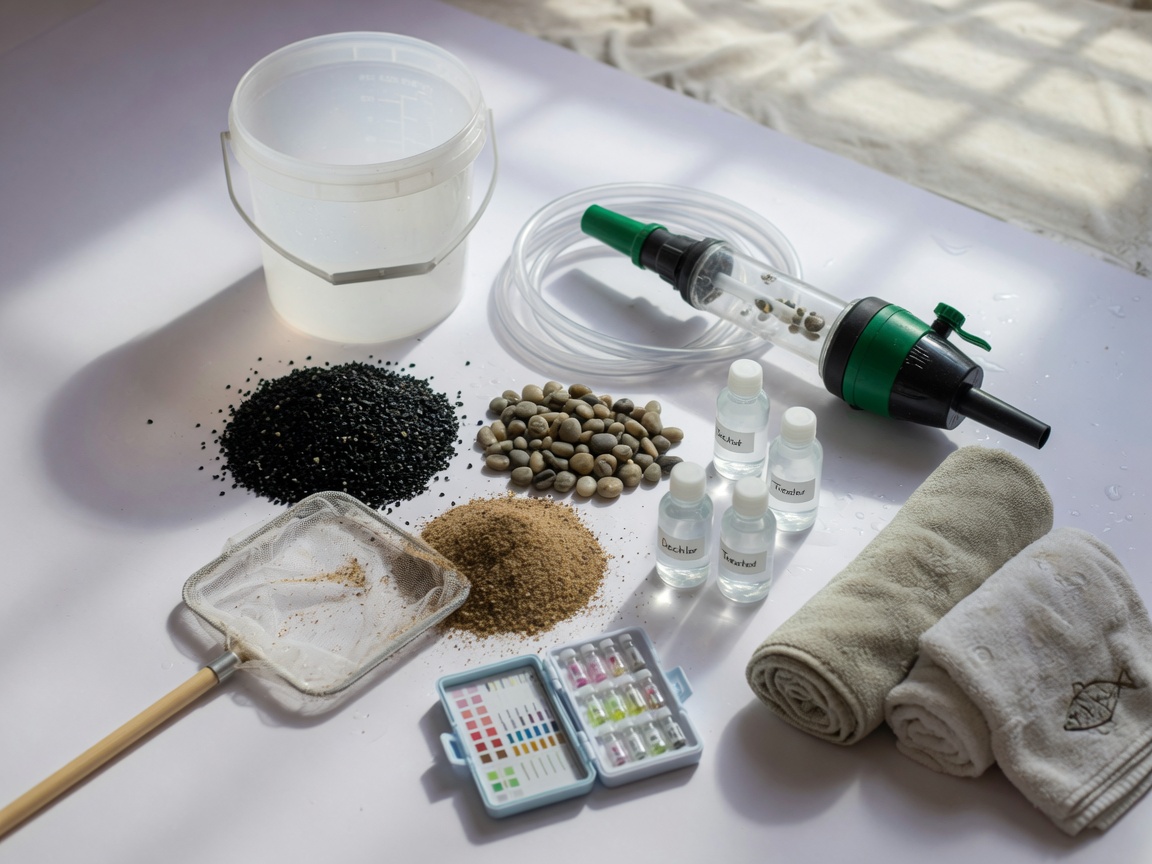
Before beginning the replacement process, gather these essential supplies:
- A clean bucket (dedicated for aquarium use only)
- An aquarium vacuum or gravel siphon
- New substrate of the same type and size as the original
- A fine mesh net
- Dechlorinated water for rinsing
- A temporary container for fish (if doing a complete replacement)
- Towels and a water test kit
The Step-by-Step Replacement Process
Partial Replacement Method (Recommended)
For most aquariums, a partial replacement works best as it preserves beneficial bacteria colonies:
- Turn off electrical equipment: Switch off heaters, filters, and aerators to prevent accidents.
- Remove about 25-30% of the substrate using an aquarium vacuum, starting from areas with visible debris accumulation.
- Rinse new substrate thoroughly under dechlorinated water until the water runs clear. This prevents cloudiness.
- Add the new substrate gradually, pouring it slowly into the tank to avoid disturbing decorations and your aquatic pets.
- Restore your equipment and monitor water parameters over 24 hours.
Complete Replacement Method
Reserve this method for tanks with severe contamination or disease concerns:
- Move your fish temporarily into a container with aquarium water and gentle aeration.
- Remove all substrate and decorations carefully.
- Clean the tank thoroughly with hot water only—never use chemicals.
- Rinse new substrate extensively in batches using a fine mesh net.
- Reinstall everything methodically, adding substrate in thin layers to establish proper levels.
- Acclimate fish gradually by floating them in the new setup for 15-20 minutes before releasing them.
Important Considerations Before You Start
Never discard your old filter media or substrate entirely if your filter is still functioning well. Beneficial bacteria take weeks to establish, so preserving these colonies is crucial. If you're changing substrate type entirely (for example, from gravel to sand), plan for a longer cycling period and monitor ammonia levels closely.
Always match your new substrate to the original type and size. Incompatible substrate can affect pH levels and plant growth. For planted tanks, consider nutrient-rich substrate options that support vegetation.
Post-Replacement Care and Monitoring
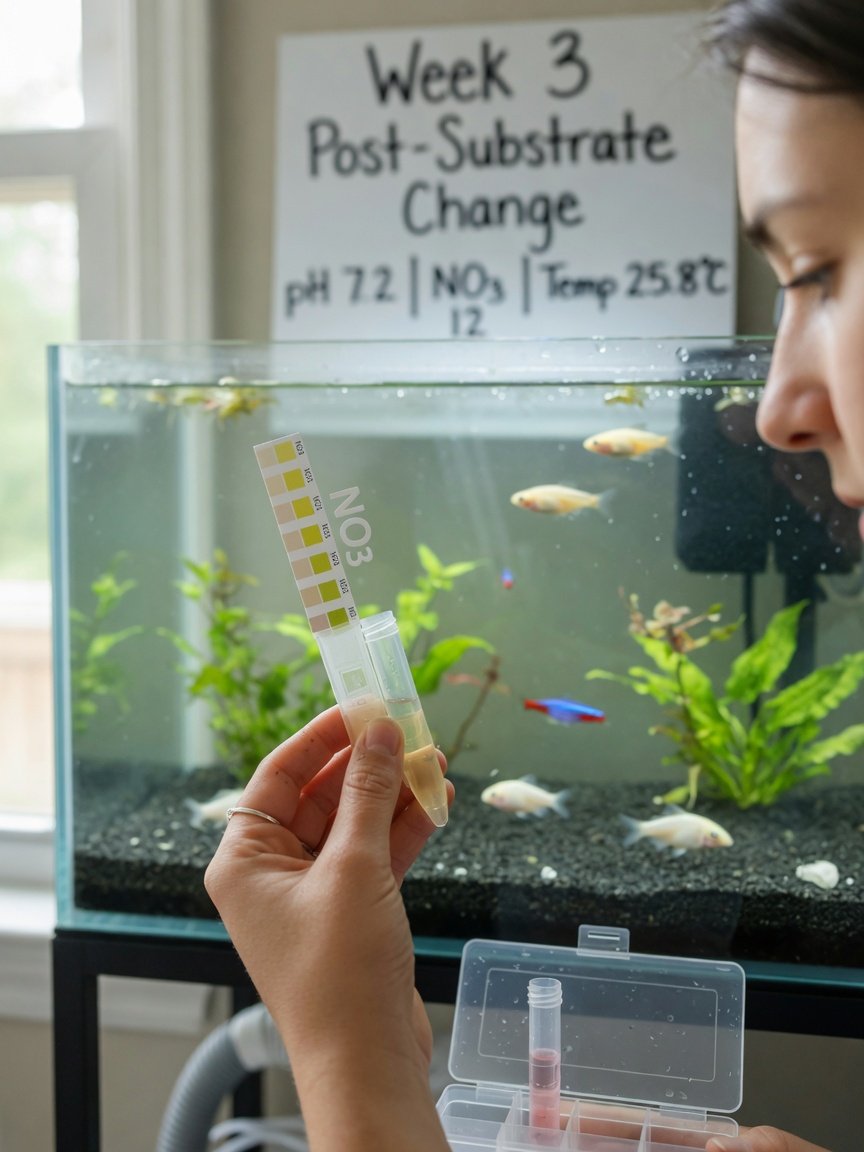
After replacement, your aquarium may experience temporary cloudiness or slight water parameter fluctuations. This is normal. Test water quality daily for a week, monitoring ammonia, nitrite, nitrate, and pH levels. Keep feeding minimal during this period to reduce bioload whilst the beneficial bacteria re-establish.
Perform a 25% water change three days after replacement to remove any remaining particles and stabilise water chemistry.
Key Takeaways
- Partial replacements (25-30%) are safer and preserve beneficial bacterial colonies
- Always rinse new substrate thoroughly before adding it to your tank
- Monitor water parameters closely for one week following replacement
- Avoid disrupting fish and plants unnecessarily during the process
- Keep replacement schedules consistent—typically every 6-12 months depending on tank bioload
Substrate replacement needn't be daunting. With proper preparation and patience, you'll maintain a clean, healthy aquatic environment where your pets can truly flourish.